

How To Fix My Ps4 Controller Charging Port

-
Using the Phillips #00 Screwdriver, remove the four 6.0 mm screws securing the rear cover to the controller.
-
Do not forcefully loosen the screws, as it will amount to permanent damage of the threads, making removal impossible.


-
Beginning with the left handle:
-
Pinch the left handle of the controller to introduce an opening.
-
Wedge a plastic opening tool into the opening and slide it up towards the joystick.
-
Pull down on the plier to crack open the casing.
-
Repeat these steps for the right handle.


-
Wedge a plastic opening tool into the case-splittings and pull down to crack open the casing near the following buttons:
-
Share button
-
Options button
-
Split the plastic covers of the controller apart, taking note that they will still be attached by circuit board ribbons.
-
Three small pieces are often released from the framework. To prevent loss, maintain a controlled work field.
-
2 Trigger Springs
-
1 Grey Reset Button Extension


-
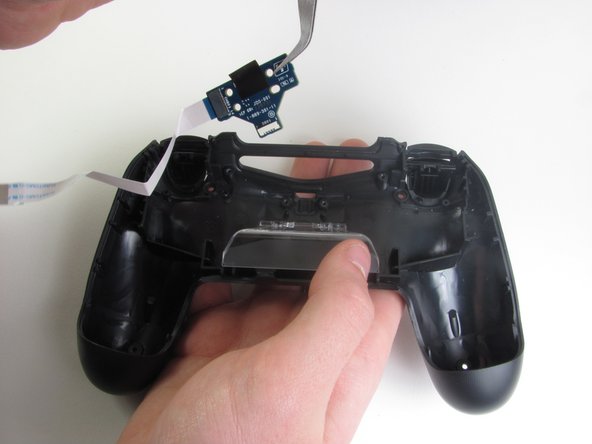
Detach the motherboard ribbon connecting the two sides of the controller by using your fingers.
-
After the two halves are separated, place the top of the controller off to the side.


-
Remove the two screws holding the sub-assembly together. Then use the blunt forceps to grab the 2 inch black plastic connector labeled in the picture with the red box.
-
Use the blunt forceps to grab the 2 inch white piece of plastic labeled with the orange box.


-
With the clear piece of plastic pushed in, take the transparent white piece out from the top of the controller.
-
Keep the clear plastic piece on the controller, but keep it pushed down to provide room for charger port replacement.
-
Use the Philips #00 Screwdriver to unscrew the two 4.0 mm screws that attach the charging port to the rear cover.


-
With the blunt forceps remove the top part of the black tape connecting the charging port to the plastic portion of the controller.
-
Grab the PCB of the charging port from the side and pull upwards slowly to remove from the controller.
-
Do NOT pull the blue PCB rapidly upwards; instead move the piece side to side to create some free space between the controller and PCB.
How To Fix My Ps4 Controller Charging Port
Source: https://www.ifixit.com/Guide/DualShock+4+Charging+Port+Replacement/22682
Posted by: hawkinsthatted.blogspot.com
0 Response to "How To Fix My Ps4 Controller Charging Port"
Post a Comment